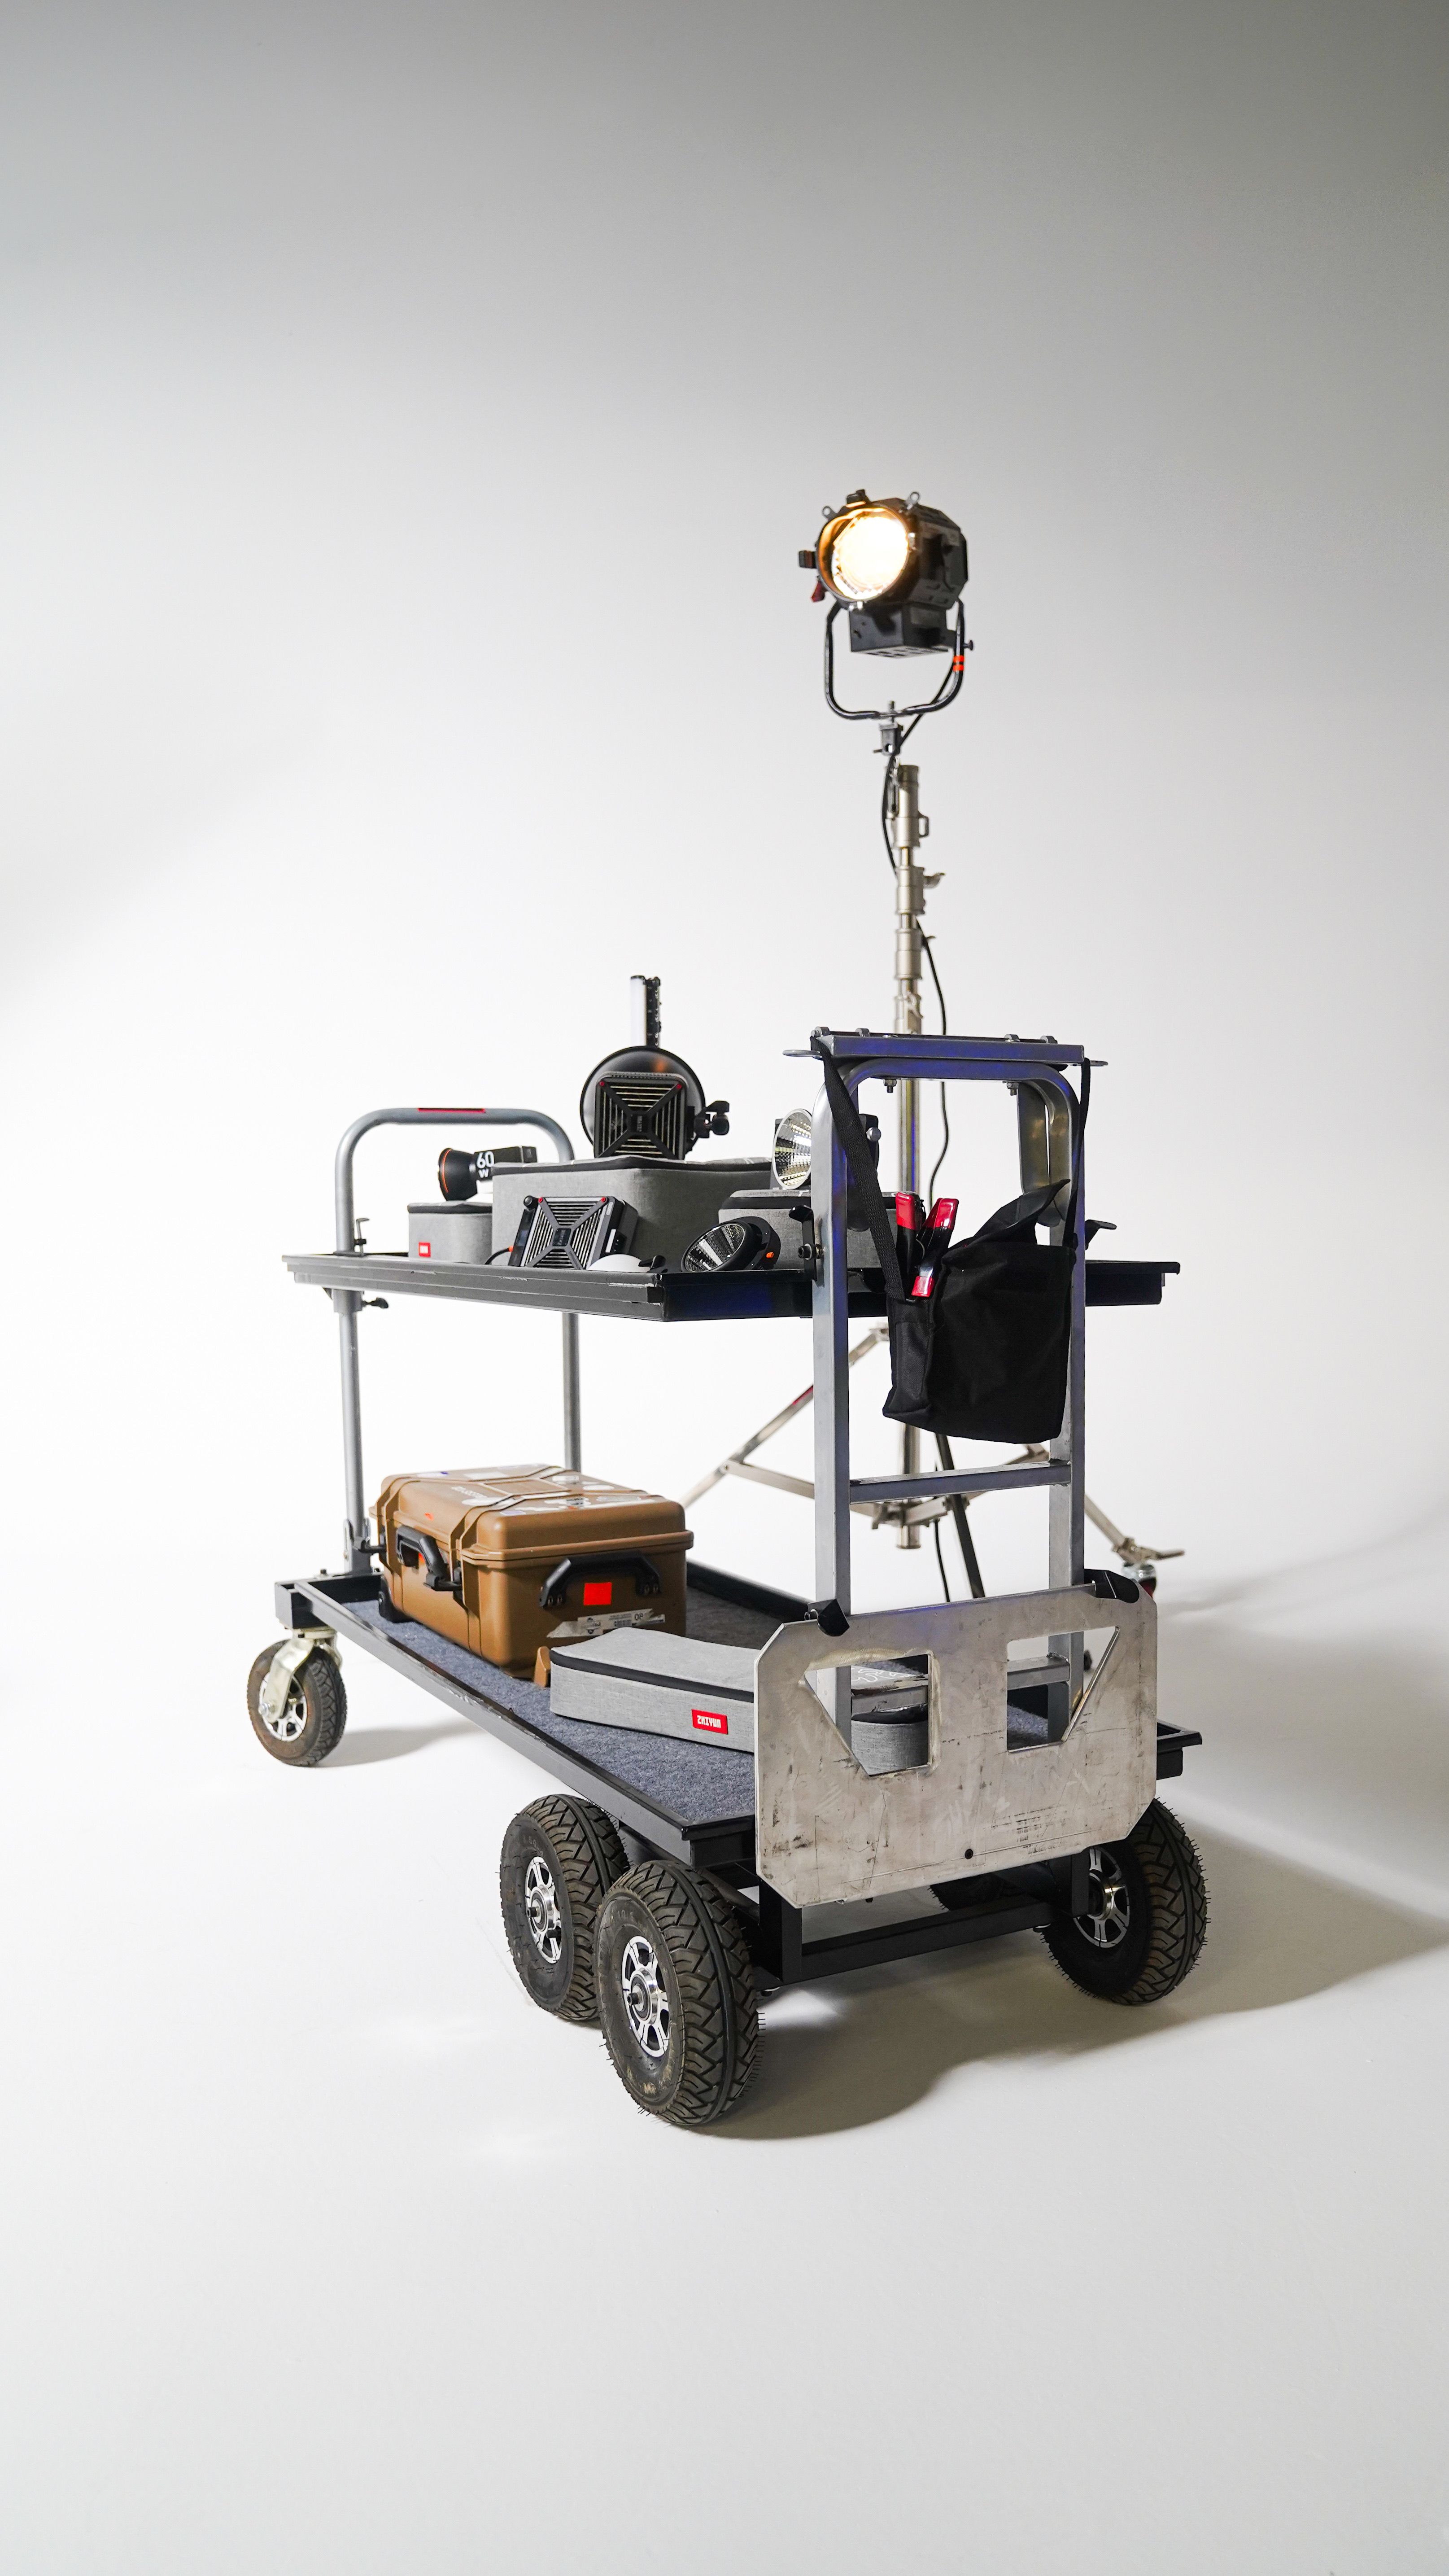
A strong commercial-film lighting brief is not a shopping list of fixtures. It explains what the audience should see and feel, what the location will allow, and which details must remain consistent from shot to shot. For a production in Abu Dhabi, that means considering natural light, reflective surfaces, access, the subject and the camera plan together—not leaving the visual approach until the crew is already on set.
The brief can stay concise: a few approved reference frames, a description of the light’s direction and quality, the priorities for faces or products, and a note about time, movement and technical tests. That gives the director and cinematographer room to create while making the production assumptions visible to the client.
Start with the effect, not the equipment
Begin by describing the intended mood in ordinary language. Should the scene feel open, intimate, crisp, soft, energetic or restrained? Then translate that into observable choices: where the key light seems to come from, how much contrast is acceptable, whether shadows should stay present, how the background separates from the subject, and whether practical lights are part of the frame.
Choose a small set of reference images and annotate what matters in each one. A reference can be useful for its contrast but not its colour; for its soft face light but not its camera angle. Say so. If references are unlabelled, different departments may interpret the same image differently. A storyboard can help connect the visual intent to individual scenes; the earlier guide on storyboard alignment shows how to make frames useful across creative, production and approval conversations.
For that earlier step, see UAE branded-film storyboards.
Read the Abu Dhabi location before settling the approach
A lighting idea that works in a controlled studio may need a different plan in a bright interior, a shaded courtyard or an open exterior. Before agreeing the look, identify the practical conditions that can change it: window direction, time of day, overhead shade, reflective floors or walls, ceiling height, available power, rigging limits and how long the crew can occupy the space. These are not minor technical notes; they shape what can be achieved efficiently.
For a recce, capture the same wide view and representative close-ups at the relevant time of day. Record which daylight sources are welcome, which might need controlling, and where reflections or mixed-colour sources could affect skin or product colour. If the shoot spans multiple locations, mark which elements should remain similar and which are intentionally allowed to change.
The Abu Dhabi Film Commission’s official location guide groups Abu Dhabi locations across settings such as city, coastlines, desert, nature, mountains, backlots and studios. Use it as a location reference, then confirm access and any permissions for the exact site and activity with the relevant owner or authority. It is Abu Dhabi-specific; a production in another emirate should check that emirate’s applicable process rather than treating one guide as a UAE-wide clearance.
Explore the Abu Dhabi Film Commission location guide and verify the practical conditions of the chosen location during planning.
Give the lighting language enough precision
Useful language is specific without becoming an equipment prescription. Instead of “cinematic,” say whether the scene should be high-key or contrasty, whether the face should feel softly wrapped or more directional, and whether the background should remain bright, fall away or carry a motivated practical source. If colour is important, describe whether the light should read neutral, warm or cool and identify any colours that must not shift.
The cinematographer can then translate those priorities into the appropriate fixtures, diffusion, bounce, negative fill, control and rigging. The client brief should clarify the image outcome and constraints; the crew plan should specify the technical method. This separation protects creative flexibility and makes later changes easier to discuss.
ARRI’s lighting handbook is one useful technical reference for thinking about lighting techniques in both location and studio contexts. Treat manufacturer material as guidance for the named equipment, not as a universal recipe: the visual result still depends on the room, camera, subject, exposure and surrounding sources.
See ARRI’s lighting handbook for practical examples of lighting approaches.
Protect faces, product detail and brand colour
A face, a label, a polished object and a large coloured surface each respond differently to light. Name the priority for the scene. For a person, it may be natural-looking skin and an unforced expression. For a product, it may be readable shape, controlled reflections and legible details. For a branded environment, it may be keeping the principal colour recognisable without making every surface look artificially saturated.
Create a simple test plan for the most important subject and material: wardrobe, hero product, logo finish, glass, metal, glossy packaging or textured fabric. Review the test on a calibrated or agreed reference display where possible, and confirm who makes the final colour decision. This avoids discovering late in post-production that the chosen light has made a critical surface difficult to reproduce consistently.
Plan continuity through movement and time
Commercial scenes often cut between a wide frame, a close-up and a reverse angle. The lighting note should say what needs to match across those views: direction, shadow density, background level, reflections or the practical source that motivates the scene. If a performer or camera moves, test the path—not only the opening frame—so the light remains plausible and the subject does not cross into an unintended exposure or colour change.
For daylight-dependent work, protect the schedule with a clear priority order. Identify the shots that rely most on a particular window or exterior quality, and capture them when the conditions are suitable. Keep a backup approach for cloud, changing daylight, access delay or a scene running long. That is a planning allowance, not a promise that natural light can be controlled completely.
Test the camera and light together
Flicker or uneven exposure can appear when a camera’s frame rate or shutter interacts with a light source, especially in particular dimming or high-speed situations. Do not assume a fixture will behave identically at every setting. Ask the cinematographer and gaffer to test the actual camera, fixture, dimmer level and intended recording settings before the production commits to the look.
ARRI’s fixture-specific documentation, for example, distinguishes operating modes and cautions that flicker performance depends on the selected mode and camera speed. The lesson is broader than any one product: a short test is more dependable than a specification-sheet assumption. Include screens, signs and practical lamps in the test if they will appear in frame.
For an example of this kind of equipment-specific guidance, consult ARRI’s SkyPanel manual.
A client-ready lighting checklist
State the emotion and visual outcome in plain language.
Attach a few references and annotate exactly what each reference contributes.
Record location, time-of-day, window direction, reflective surfaces and access constraints.
Name the subject priorities: faces, product form, labels, materials, wardrobe or brand colour.
Describe contrast, softness, direction, background level and any motivated practical sources.
Identify scenes that depend on daylight and agree a priority order plus a backup approach.
Confirm camera movement, coverage and continuity requirements across angles.
Schedule a camera-and-fixture test for dimming, screens, practicals or high-speed work.
Agree who approves the visual test and which display or reference governs colour decisions.
The checklist turns taste into decisions the team can discuss. It should remain short enough to be used: one page of intent and constraints is usually more valuable than a long inventory of lighting equipment.
Bring lighting into the creative brief early
Lighting affects the feeling of the film, but also the time, access and coordination required to create it. Discussing the look early lets the production team identify what needs to be tested, what can be achieved with the location itself, and where additional control or rigging may be necessary. It also makes trade-offs clearer: if the schedule tightens, everyone can protect the images that matter most rather than guessing which details can change.
EquiFilms works across film and photography production, bringing story, direction and image-making choices into one creative process. If you are preparing a commercial shoot in Abu Dhabi, share the objective, location type, timing, subject priorities and intended channels while the visual approach is still being shaped. Explore EquiFilms.